
In this tutorial, I will try to cover configuring a custom domain for sending emails in your application. The benefit of using mailgun is that it allows you to send (5,000) emails for free during the first three months (then you will pay $0.8 per 1,000 emails) and its setup procedure is so straightforward. You will only need to add your payment verification to be able to send emails without any restrictions.
Sign up & Sign in#
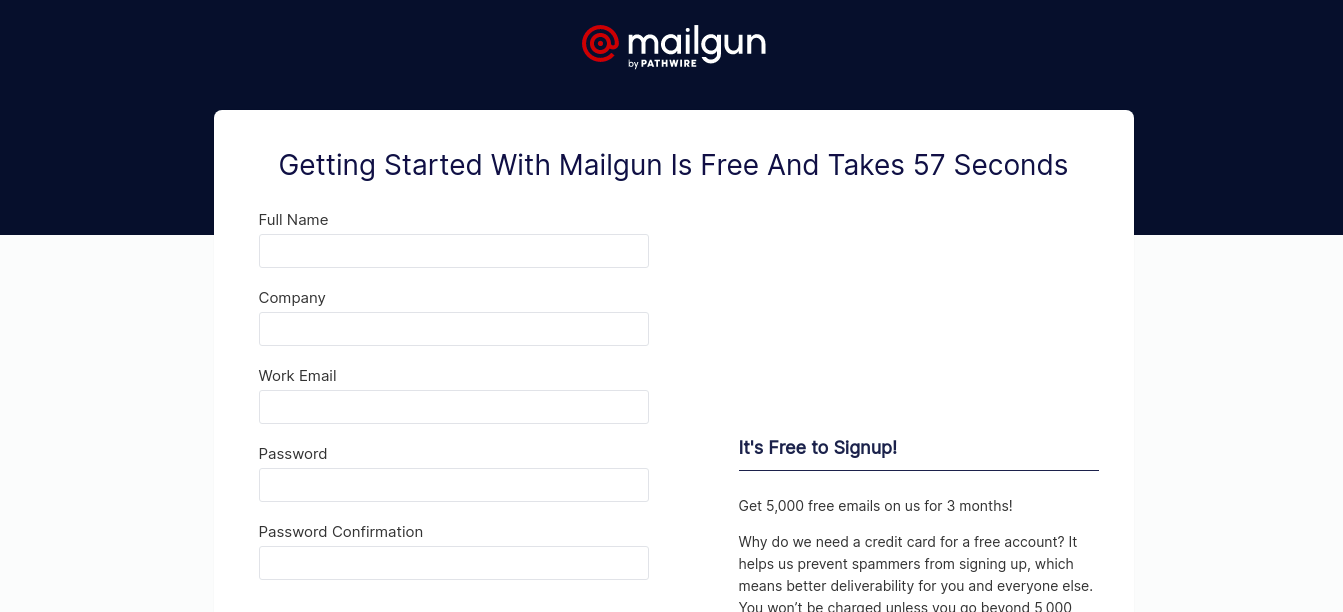
If you don’t have an account yet, go to mailgun and sign up with your email, then add your payment verification.
In the Domains section of the website, click on add new domain (this button will not appear unless you have added your payment method) to include your custom domain. For this tutorial only, let’s say our domain is yalchin.info. You can include only the domain name, but mailgun recommends including a subdomain, so I will continue with mg.yalchin.info.
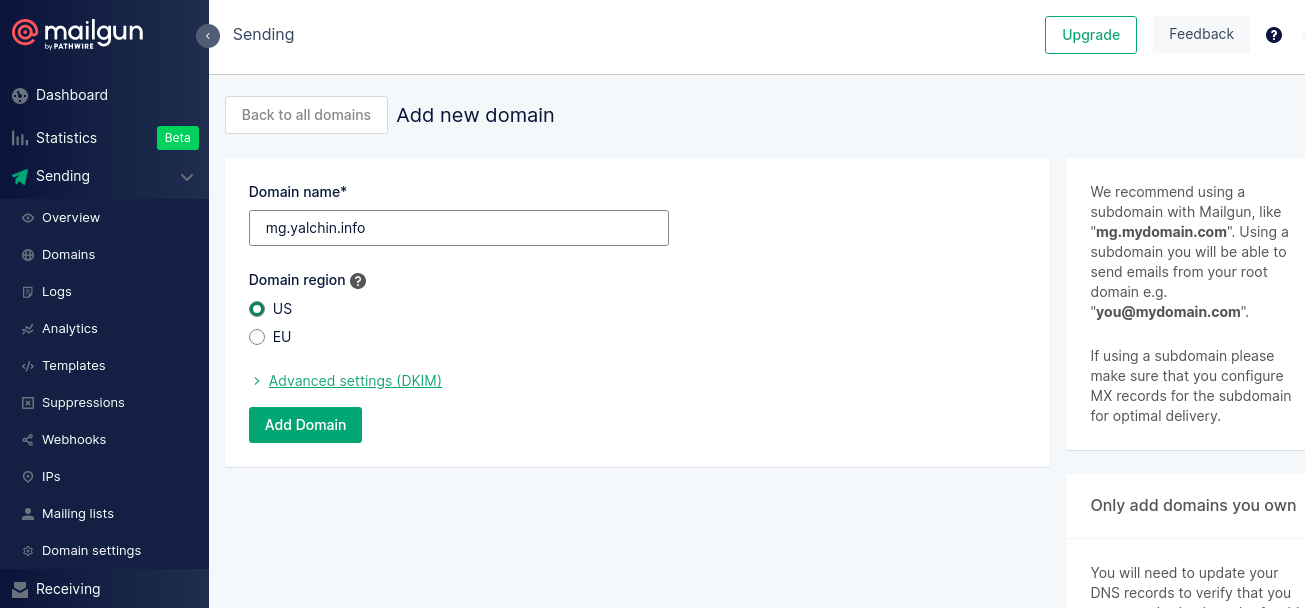
After choosing the domain name click on Add Domain button.
Adding DNS Records#
After clicking to Add Domain button you will be prompted to a page to add DNS records and verify that you are the one who really owns the domain.
Now go to your DNS provider, in my case I’m using Namecheap. Navigate to advanced DNS settings, and start to add DNS records shown on mailgun domain verification page.
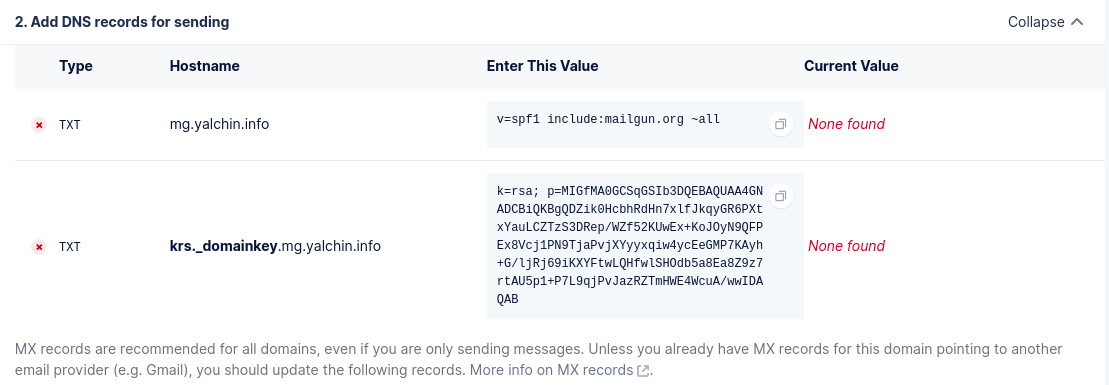
Now, while adding txt records make sure that if you are using a subdomain like me (mg.yalchin.info), you don’t need to add mg.yalchin.info for hostname, just include mg for the hostname or whatever you chose as a sub-name. Hence from now on, you don’t need to include the original domain name while adding hostname, just include prefix before the original domain name. If you don’t use a subdomain and instead you are using the original domain then put @ sign for the hostname. Then copy and paste appropriate values.
The same procedure applies to adding CNAME and MX records. Just like this:

After you are done, go back to mailgun DNS verification page, and click on verify button. If you added DNS records correctly, it will probably be verified within minutes, but theoretically, it can take 24-48 hours to be verified. After verifying, you are good to copy your credentials from mailgun and paste into settings.py in your django project. Just like shown beneath:
Setup settings.py#
EMAIL_HOST = 'smtp.mailgun.org'
EMAIL_PORT = 587
EMAIL_HOST_USER = 'mg@mail.yalchin.info'
EMAIL_HOST_PASSWORD = 'yourSupersecrectPassword'
EMAIL_USE_TLS = True
Warning:
Do not include your password in the settings.py, but include them via the .env file and ignore the .env file with .gitignore; otherwise, your password can be leaked.
Send Email#
In order to send emails in Django, you can use libraries and code snippet below:
from django.core.mail import send_mail
from portfolio.settings import EMAIL_HOST_USER   # import your email
from django.core.mail import EmailMessage

email_body ="Yea we did it!"
email = "emailYouWantedToSendMessageTo@example.com"
msg = EmailMessage(
				"First Email Ever",
				email_body,
				EMAIL_HOST_USER,
				[email]
)
			msg.content_subtype = "html"   # so that you can format you message with html tags
			msg.send()
Thanks for reading!